
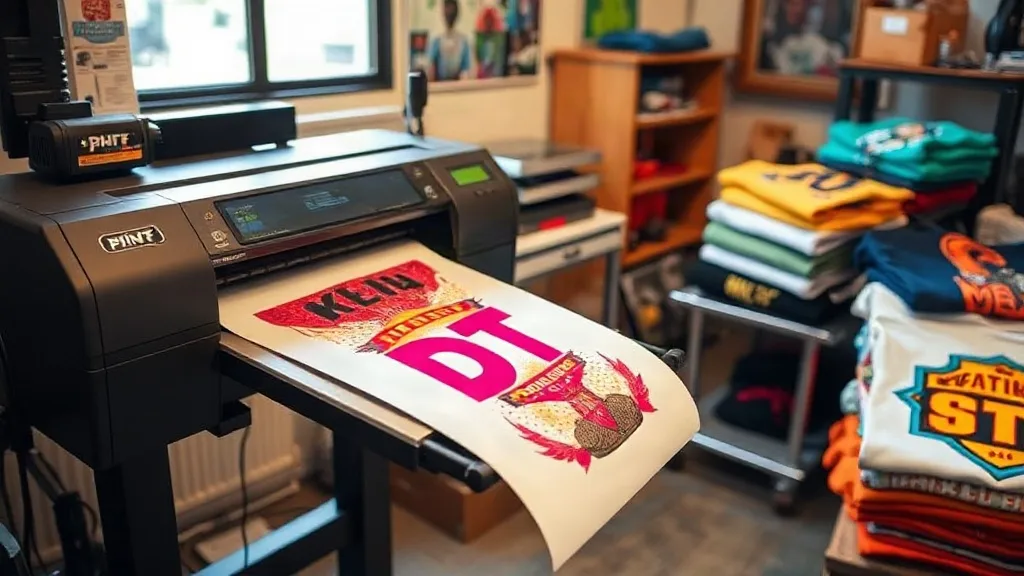
When you run a small print shop, every job is a chance to prove that big impressions don't require a big operation. DTF transfers have become the go-to solution for shops that want to deliver vibrant, durable prints on demand without investing in expensive screen-printing setups. But making DTF work for you isn't just about buying a printer and hoping for the best. It's about understanding the nuances that separate a good print from a great one, and that's what this guide is here to cover.
Why DTF Makes Sense for Small Shops
Traditional screen printing demands volume to justify setup costs, and vinyl cutting limits you to simple designs. DTF (direct-to-film) printing flips that equation. You can print a single shirt or a hundred, with full-color gradients, fine details, and photographic images, all without screens or weeding. For a small shop, that flexibility means you can say yes to one-off custom orders, last-minute events, and sample requests that would otherwise eat into your margins.
But the real advantage is in the workflow. Once you have a DTF printer and a heat press, you're not juggling multiple processes. Print, powder, cure, press. That simplicity lets you train staff quickly and keep production moving even when orders come in waves. And because the transfers are printed on film, you can store them and press them later, which means you can batch-print designs and fulfill orders as they come in.
Choosing the Right Film and Powder
The quality of your DTF transfer starts with the materials. Not all films are created equal, and the wrong choice can lead to cracking, dull colors, or transfers that peel after a few washes. Here's what to look for:
- Film thickness and coating: A quality film has a consistent coating that holds the ink without oversaturation. Thinner films may feel softer but can be trickier to handle during powdering.
- Powder mesh size: Finer powder (around 80-100 microns) gives a softer hand and better detail, while coarser powder is more forgiving for bold designs. Match the powder to your design and fabric.
- Compatibility with your printer: Some films are optimized for specific ink types. Always test a new film with your printer before committing to a large roll.
I learned this the hard way when I switched to a cheaper film to save a few bucks. The prints looked fine on the first wash, but by the third, the edges were lifting. It cost me more in reprints than I saved. Now I stick with films that have a proven track record, even if they cost a little more upfront.
Mastering the Press: Temperature, Pressure, and Time
Even with perfect materials, a bad press can ruin a DTF transfer. The three variables you need to control are temperature, pressure, and time. Most DTF transfers press at around 300-325°F (150-160°C) for 10-15 seconds, but the exact settings depend on your film, powder, and fabric.
Here's a starting point, but always do a test press:
- Pre-press the garment for 5 seconds to remove moisture and wrinkles. This step is often skipped, but it makes a huge difference in adhesion.
- Place the transfer with the printed side down. If your film has a carrier sheet, make sure it's on top.
- Press at medium pressure for 10-15 seconds. Too little pressure and the transfer won't bond; too much and the design can spread or the film can wrinkle.
- Peel the film while it's still warm (or cold, depending on the film type). Check your film's instructions, as some require a cold peel.
- Post-press for another 5 seconds with a Teflon sheet or parchment paper to smooth the print and ensure a matte finish.
One mistake I see often is inconsistent pressure across the platen. If your press has a pressure gauge, calibrate it regularly. If not, use a pressure-sensitive paper to check for even distribution. Uneven pressure leads to partial transfers that look fine at first but fail in the wash.
Fabric Matters: Matching Transfers to Garments
DTF transfers adhere best to fabrics with a high cotton content, but they also work on blends and synthetics. However, the fabric affects the hand feel and durability. On 100% cotton, you get a soft, integrated feel. On polyester, the transfer sits more on the surface and can feel plasticky if not pressed correctly. For stretchy fabrics like spandex blends, use a stretchable DTF film to prevent cracking.
Always test on the actual garment you plan to use. A transfer that works on a cotton tee might fail on a canvas tote or a nylon jacket. And remember, darker fabrics require a white ink layer, which adds thickness. If you want a softer hand on dark shirts, consider using a thinner white layer or a film designed for dark garments.
Avoiding Common DTF Pitfalls
Even experienced shops run into issues. Here are the most common ones and how to fix them:
- Ghosting or double images: This happens when the transfer shifts during pressing. Use heat-resistant tape to secure the transfer to the garment.
- Peeling after washing: Usually caused by insufficient pressure or pressing over seams. Press seams flat before applying the transfer.
- Dull colors: Often a sign of under-curing the powder. Make sure your powder is fully melted and the film is cured according to the manufacturer's specs.
- Clogged printheads: DTF inks are thicker than standard inks, so regular maintenance is crucial. Print a test pattern daily and keep the printhead clean.
Scaling Up Without Losing Quality
As your shop grows, you'll want to increase throughput without sacrificing quality. That's where gang sheets come in. Instead of printing one design at a time, you can arrange multiple designs on a single sheet, maximizing your film usage and reducing waste. DTF transfers on gang sheets let you produce a variety of designs in one print run, which is perfect for fulfilling multiple orders or building inventory for popular designs.
Invest in a rip software that supports gang sheet layouts. It will save you hours of manual arrangement and help you track film usage. Also, consider a roll-to-roll DTF printer if you're doing high volume; it automates the powdering and curing process, reducing labor and inconsistencies.
Building Customer Trust with DTF
Your customers may not know what DTF stands for, but they know when a print feels cheap or fades after a few washes. By mastering the DTF process, you build a reputation for quality that keeps them coming back. Always provide care instructions: wash inside out in cold water, tumble dry low, and avoid ironing directly on the print. A small card with these tips adds a professional touch and reduces complaints.
And don't be afraid to show off your work. Post close-up photos of your prints on social media, highlighting the detail and durability. When customers see that you take pride in your craft, they'll trust you with their custom apparel needs.
Frequently Asked Questions
How long do DTF transfers last?
With proper application and care, DTF transfers can last as long as the garment itself, often 50+ washes. The key is correct pressing and following wash instructions.
Can I use DTF transfers on 100% polyester?
Yes, but you may need to adjust temperature and pressure to avoid scorching. Use a lower temperature (around 280°F) and a shorter press time, and always test first.
What's the difference between DTF and DTG?
DTG (direct-to-garment) prints directly onto the fabric, while DTF prints onto a film that is then transferred. DTF works on more fabric types and often produces more vibrant colors on dark shirts.
Do I need a special printer for DTF?
Yes, DTF requires a printer with DTF ink and a powder shaker. You can convert some inkjet printers, but dedicated DTF printers are more reliable for production.
How do I store DTF transfers?
Store them in a cool, dry place away from direct sunlight. Keep them flat or rolled, not folded, to avoid cracking the ink. Use them within a few months for best results.