
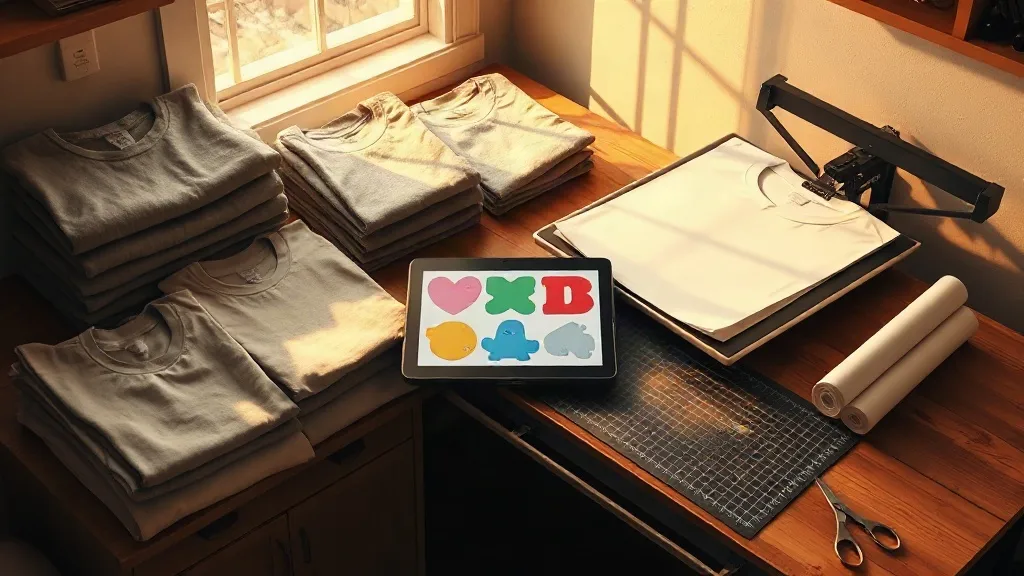
Most custom apparel projects do not fail because of bad designs. They fail somewhere between the design file and the finished shirt: a blank that shrinks oddly, a transfer that peels after three washes, or a pricing sheet that never accounted for wasted film. If you have spent any time pressing shirts in a garage or a small studio, you already know that the boring middle steps decide whether a job feels smooth or stressful. That is where pairing a dependable blank like shaka wear with a well-planned gangsheet workflow starts to make sense.
This is not a pitch for buying more gear. It is a walkthrough of how two fairly simple choices, the blank you stock and the way you arrange your transfers, can change your day-to-day results. Whether you are printing for a local team, a small brand drop, or a weekend market, the goal is the same: fewer surprises, better margins, and shirts people actually keep wearing.
Why the blank matters as much as the print
DTF transfers get a lot of attention because the colors pop and the process is forgiving. But a transfer is only as good as the surface it lands on. A heavyweight cotton tee with a tight, even knit gives the adhesive a consistent base. A loose, slubby, or poorly finished blank creates uneven pressure points, and that is where you see lifting at the edges or a stiff, plastic feel after curing.
Shaka Wear sits in a useful spot for shops that need volume without jumping into premium pricing. The line leans toward streetwear-friendly cuts and heavier fabrics, which suits the kind of bold, full-color graphics that DTF handles best. Heavier cotton also tolerates the heat of a press more predictably, so you are less likely to scorch a collar or get that shiny press mark on a dark shirt.
A few practical things to check before you commit a whole run to any blank:
- Weigh a single shirt and compare it to the spec sheet. Weight tells you more about hand feel than a marketing label does.
- Wash one sample twice before you sell the rest. Shrinkage and color bleed show up fast and are cheap to catch early.
- Press a scrap transfer onto the inside hem. If the adhesive bonds cleanly there, the main body will usually behave.
None of this takes long, and it saves you from the worst outcome in this business: a customer returning a shirt because the print cracked after a week.
What a DTF gangsheet builder actually solves
If you have ever laid out individual transfers one by one, you know the hidden cost. Film is not free, and neither is your time. A DTF Gangsheet Builder takes that layout problem and turns it into a visual, drag-and-drop task. You upload your artwork, arrange it on a single sheet at the correct size, and the software packs everything into the film dimensions you are paying for.
The real benefit is not the tool itself. It is what happens to your unit economics. When you fill a sheet efficiently, the cost per print drops, and that margin flows straight into your pricing. A shop that nests ten small logos onto one sheet instead of running them separately can quote a lower price and still make more per job. That is the whole game.
Planning a sheet that does not waste film
A good gangsheet is a small puzzle. Before you upload anything, list every design in the order and quantity you need. Then think about shapes. Rectangular logos tile neatly; long banners and circular badges leave awkward gaps. Rotate pieces where the design allows it, and keep a consistent margin between prints so your cutter has room to work.
One habit that pays off: build a standard sheet for your most repeated jobs. If you print the same three logos for a recurring client, save that layout. Rebuilding it from scratch every month is the kind of quiet time leak that makes a profitable shop feel busy but broke.
Matching transfer size to garment size
This is where a lot of beginners lose money. A design that looks right on a medium can look cramped on a large and overwhelming on a youth small. Set your print dimensions by garment size before you build the sheet, not after. A chest logo that runs about three to three and a half inches wide works across most adult sizes; a full back print needs a wider range, often ten to twelve inches depending on the cut.
Because the builder lets you scale artwork directly on the sheet, it is easy to duplicate a design at three or four sizes in one session. That is far cleaner than resizing during pressing, when you are juggling a heat press and a stopwatch.
Putting the two together in a real workflow
Here is how a small run tends to look once the blank and the transfer side are both sorted. Say you have an order for twenty shirts, mixed sizes, two designs.
- Pull the blank count by size and confirm you have enough Shaka Wear stock in the right colors. Nothing stalls a job faster than a missing medium.
- Open the gangsheet builder and place both designs at the correct dimensions for each size group.
- Nest the pieces to fill the sheet, checking margins and orientation.
- Export, print, and cure the film according to your powder and oven settings.
- Press each shirt with consistent time, temperature, and pressure, then peel and do a quick adhesion check on the first piece.
- Bag, label, and note the actual film used so your next quote is grounded in real numbers.
The last step gets skipped constantly, and it is the one that turns a hobby into a business. If you do not record what a job consumed, you are guessing at your prices forever.
Common mistakes worth avoiding
Even experienced pressers slip on a few things. Overfilling a sheet so prints almost touch leaves no room for error and can cause bleeding at the edges. Skipping a pre-press on the garment traps moisture, which shows up as bubbling later. And pressing at a temperature that is too high to save time will give you a glossy, cracked finish that no wash will fix.
On the blank side, storing shirts in a damp space before printing is a silent killer. Cotton absorbs ambient moisture, and that moisture fights the adhesive. Keep your stock dry, press each shirt briefly to release any lingering dampness, and your transfer adhesion will be noticeably more consistent.
There is also a design trap. DTF reproduces fine detail well, but tiny text and hairline strokes can turn muddy at small sizes. If a client insists on a detailed crest, test it at final size before committing the full run. A five-minute test beats a fifty-shirt redo.
Frequently asked questions
Do Shaka Wear shirts work well with DTF transfers?
They generally do, especially the heavier cotton styles. The key is matching your press settings to the fabric and doing a quick adhesion test on the first shirt. Lighter or stretchier blends may need slightly lower pressure and a gentler peel.
How full should I pack a gangsheet?
Fill it enough to lower your cost per print, but leave a consistent margin between designs so trimming and pressing stay clean. A sheet that is too tight creates more waste through errors than it saves in film.
Can I reuse a gangsheet layout for repeat orders?
Yes, and you should. Saving layouts for recurring clients saves real time every month. Just double-check quantities and size breakdowns before you print, since those change more often than the artwork.
What size should a DTF print be on a t-shirt?
A left chest logo usually lands around three to three and a half inches wide. Full front and back prints often run ten to twelve inches. Scale by garment size and always preview at final dimensions before printing.
How do I price jobs built on a gangsheet?
Start with the film actually used, add your blank cost, labor time, and a margin. Tracking real consumption per job is the only way to quote confidently instead of guessing and hoping the numbers work out.