
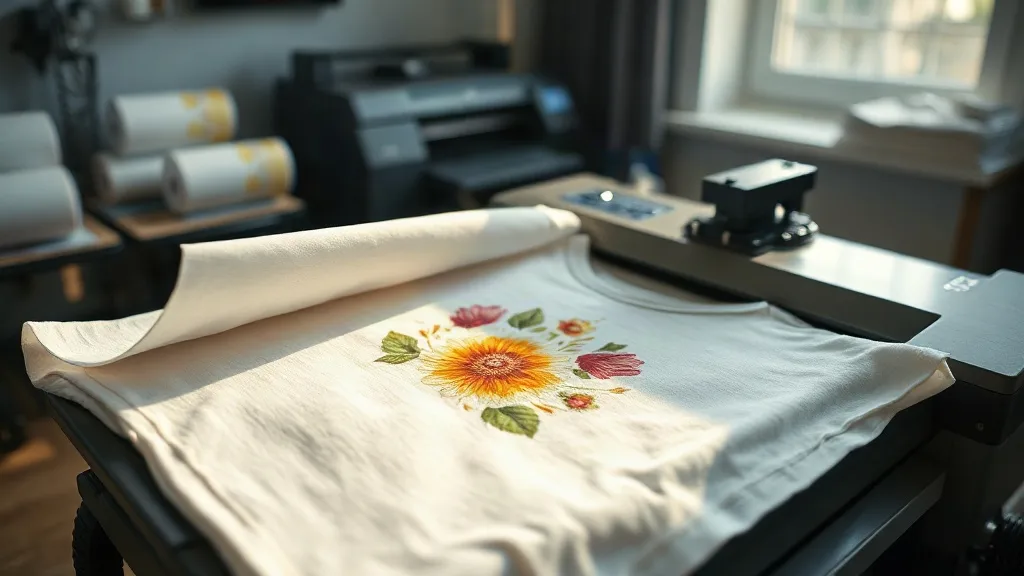
Imagine pressing a vibrant, full-color design onto a cotton t-shirt or a polyester hoodie with just a heat press and a sheet of film. That's the magic of dtf printing, a technology that has rapidly become a favorite among small business owners, crafters, and apparel decorators. Unlike traditional methods that require weeding or specialized pretreatment, DTF transfers streamline the process without sacrificing quality. In this guide, we'll walk you through everything you need to know about DTF transfers, from the science behind the adhesive to the step-by-step application, so you can start creating professional-grade custom gear today.
But what exactly makes DTF different? At its core, DTF printing involves printing a design onto a special PET film using water-based pigment inks, then applying a thermoplastic polyurethane (TPU) powder that acts as an adhesive. When heat-pressed, the design bonds permanently to the fabric. This method works on an incredible range of materials, including cotton, polyester, blends, leather, and even nylon. That versatility, combined with the ability to produce fine details and gradients, has made dtf transfers a go-to solution for anyone looking to elevate their custom apparel game.
What Are DTF Transfers?
DTF stands for Direct to Film. It's a printing process where your design is printed onto a film, coated with adhesive powder, and then transferred to the fabric using a heat press. The key difference from DTG (Direct to Garment) is that DTF doesn't print directly onto the garment; instead, it creates a transfer that can be stored and applied later. This opens up possibilities for printing on demand, reducing waste, and handling complex fabrics that would otherwise be difficult to print on.
The process begins with a digital printer equipped with pigment inks (usually CMYK plus white). The design is printed in reverse onto the film, with a white ink layer underneath to ensure opacity on dark fabrics. While the ink is still wet, TPU powder is sprinkled over it, and excess powder is shaken off. The film then goes through a curing oven or heat press to melt the powder, creating a flexible, durable adhesive layer. The result is a ready-to-use transfer that can be applied whenever needed.
The Science Behind the Bond
The TPU powder is the secret sauce. When heated, it melts and penetrates the fabric fibers, forming a mechanical bond. This is why DTF transfers adhere so well and survive dozens of washes without cracking or fading. The pigment inks are also formulated to be stretchable, so the print moves with the fabric rather than peeling off. This combination of chemistry and physics ensures a long-lasting, professional finish.
Why Choose DTF Transfers Over Other Methods?
If you've explored custom apparel printing, you've likely encountered screen printing, heat transfer vinyl (HTV), and DTG. Each has its place, but DTF shines in several areas.
- No Weeding Required: Unlike HTV, where you must cut and weed away excess vinyl, DTF transfers come ready to press. This saves hours of tedious work, especially for intricate designs.
- Works on Almost Any Fabric: Cotton, polyester, blends, spandex, leather, and even treated nylon. DTF doesn't discriminate.
- Full-Color and Photographic Designs: DTF can reproduce gradients, fine lines, and photorealistic images with stunning accuracy.
- Cost-Effective for Small Runs: Screen printing requires setup costs per color, making short runs expensive. DTF is digital, so there's no setup, and you can print one-offs economically.
- Durability: When applied correctly, DTF prints outlast many other methods, resisting cracking, peeling, and fading.
Of course, there are considerations. DTF transfers have a slightly thicker feel than DTG on lightweight fabrics, and the white ink layer can be noticeable on very dark colors if not applied properly. But for the vast majority of applications, the benefits far outweigh the drawbacks.
The DTF Transfer Process: Step by Step
Ready to try it yourself? Here's a detailed walkthrough of the DTF transfer process, from design to finished product.
Step 1: Design Preparation
Start with a high-resolution image (300 DPI or higher) in a CMYK color profile. If your design has transparent areas, ensure they are handled correctly; the printer will lay down white ink where needed. Mirror the image horizontally before printing, as the transfer will be flipped when pressed.
Step 2: Printing
Load the PET film into your DTF printer. The printer lays down a layer of white ink first (for opacity), followed by the color layers. Some printers have a separate white ink channel, while others use a CMYK+White configuration. The printed film emerges with a wet, vibrant design.
Step 3: Powder Application
While the ink is still wet, apply TPU powder evenly over the design. You can do this manually or with an automatic powder shaker. Gently shake off excess powder; you want a thin, consistent layer adhering to the ink. Any clumps can cause uneven transfers.
Step 4: Curing
Place the powdered film in a curing oven or under a heat press at around 160°C (320°F) for 2-3 minutes. The powder melts and becomes clear, indicating it's cured. Alternatively, some use a heat press with low pressure for 10-15 seconds. The cured transfer can be stored in a cool, dry place for months.
Step 5: Heat Pressing
Preheat your heat press to 160°C (320°F). Place the garment on the platen, position the transfer face-down, and press for 10-15 seconds with medium pressure. For best results, use a Teflon sheet or parchment paper over the transfer. After pressing, peel the film while it's hot (hot peel) or after it cools (cold peel), depending on the film type. Most modern films are hot peel for convenience.
Step 6: Post-Pressing (Optional)
For extra durability, especially on stretchy fabrics, press the design again for 5 seconds with a Teflon sheet. This further embeds the adhesive into the fibers.
Common Mistakes and How to Avoid Them
Even with a straightforward process, beginners often encounter issues. Here are the most common pitfalls and their solutions.
- Insufficient Pressure: If the transfer doesn't adhere fully, increase pressure. You want the press to feel firm but not crushing.
- Wrong Temperature: Too hot and the film may wrinkle or the ink may bleed; too cold and the adhesive won't activate. Always check your film's recommended settings.
- Not Pre-Pressing the Garment: Moisture in the fabric can cause steam and poor adhesion. Always pre-press for 5 seconds to remove wrinkles and moisture.
- Over-Powdering: Excess powder leads to a rough texture and can clog the design. Shake off vigorously.
- Peeling Too Early or Too Late: Follow the film's instructions. Hot peel films should be peeled immediately; cold peel films need to cool completely.
Applications and Creative Ideas
DTF transfers aren't just for t-shirts. Here are some creative ways to use them:
- Custom Tote Bags: Add vibrant designs to canvas bags for a personalized touch.
- Sports Jerseys: Print names and numbers that withstand intense activity and washing.
- Corporate Uniforms: Create professional logos on polos and jackets.
- Home Decor: Personalize pillowcases, aprons, and even leather patches.
- Promotional Items: Quick turnaround for events and giveaways.
The possibilities are endless, limited only by your imagination.
Frequently Asked Questions
How long do DTF transfers last?
When applied correctly, DTF transfers can last 50+ washes without significant fading or cracking. Proper curing and pressing are key to longevity.
Can I use DTF transfers on 100% polyester?
Yes, DTF works exceptionally well on polyester. The lower pressing temperature (compared to some other methods) prevents scorching, and the adhesive bonds firmly.
Do I need a special printer for DTF?
You need a DTF printer that uses pigment inks and has a white ink channel. Many converted Epson printers are popular for this purpose. Alternatively, you can buy pre-printed transfers from suppliers.
What is the difference between DTF and DTG?
DTG prints directly onto the garment, while DTF prints onto a film that is then transferred. DTF works on more fabric types and doesn't require pretreatment, but DTG can be softer on lightweight cotton.
Can I stretch DTF prints?
Yes, DTF prints are flexible and stretch with the fabric. However, excessive stretching may cause cracking over time.
With this guide, you're well on your way to mastering DTF transfers. Whether you're a hobbyist or a business owner, incorporating DTF into your workflow can open up new creative and commercial opportunities. Remember, practice makes perfect, so don't be afraid to experiment with different fabrics and designs. Happy printing!