
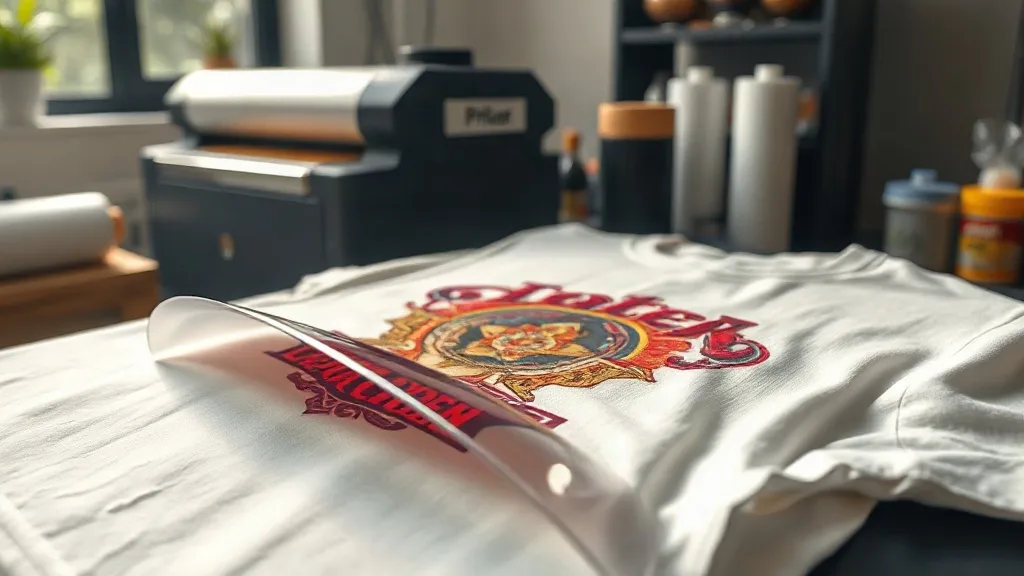
When you first hear about dtf printing, it might sound like just another industry acronym. But for anyone who has spent hours wrestling with vinyl cutters or screen printing setups, DTF is a game changer. DTF stands for Direct to Film, a digital printing technology that transfers designs onto fabric using a special film and adhesive powder. Unlike traditional methods, DTF doesn't require weeding, masking, or specialized equipment beyond a printer and a heat press. That means you can produce full-color, photographic-quality prints on demand, even for small batches. In this guide, we'll walk through the entire process, from artwork preparation to the final press, and share insights gained from real-world experience. Whether you're a hobbyist looking to personalize t-shirts or a small business owner expanding your product line, understanding DTF transfers can open up new creative and commercial possibilities.
What Are DTF Transfers and Why They Matter
DTF transfers are printed on a special PET film using water-based inks. The design is printed in reverse, then coated with a thermoplastic adhesive powder. When heat is applied, the powder melts and bonds the ink to the fabric. The film is peeled away, leaving a soft, flexible print that stretches with the garment. This method works on almost any fabric, including cotton, polyester, blends, and even nylon. That versatility is a major advantage over vinyl or screen printing, which often require specific fabric types. Moreover, DTF prints are durable: they withstand repeated washing without cracking or fading, provided they are applied correctly. For businesses, DTF offers a low barrier to entry. You don't need expensive screens or a dedicated workspace; a decent printer, film, powder, and a heat press are enough to get started. This accessibility has made DTF a popular choice for custom apparel shops, promotional product companies, and DIY enthusiasts alike.
The DTF Printing Process Step by Step
To achieve professional results, follow these steps carefully. Each stage affects the final quality, so attention to detail is key.
Step 1: Design Preparation
Start with a high-resolution image. Vector files are ideal, but 300 DPI raster images work well too. Remember that DTF prints are opaque, so white ink will be printed as a base layer. If your design has transparent areas, they will show the white base unless you specify otherwise. Use design software to mirror the image horizontally; this is crucial because the film is pressed face-down onto the fabric. Also, consider the color profile: convert your design to CMYK or RGB? Most DTF printers use CMYK plus white, so RGB is generally fine, but check your printer's recommendations.
Step 2: Printing on Film
Load the DTF film into your printer, ensuring the correct side is facing up. The film has a coated side that receives the ink. Print the mirrored design. The printer lays down color inks first, followed by a white layer. Some printers allow you to adjust the white ink density; more white means a more opaque print on dark fabrics. After printing, the film may look wet; that's normal. Let it sit for a minute or two before powdering.
Step 3: Applying Adhesive Powder
While the ink is still wet, sprinkle the thermoplastic powder evenly over the printed area. You can use a shaker bottle for better control. Gently tilt the film to spread the powder, then shake off the excess. The powder should stick only to the wet ink. If you're working in a humid environment, the powder might clump; store it in an airtight container. Once powdered, you need to melt the powder. This is done by heating the film, either with a heat press or a heat gun. A heat press set to 160-170°C (320-340°F) for about 10 seconds works well. The powder should turn glossy and slightly clear, indicating it has melted. This step is called 'curing' and is essential for the transfer to adhere properly.
Step 4: Transferring to Fabric
Now you're ready to press. Preheat your heat press to 160-170°C (320-340°F) with medium pressure. Place the garment on the press, and if needed, pre-press for a few seconds to remove moisture. Position the DTF film on the fabric with the printed side down. Cover with a Teflon sheet or parchment paper to protect the press. Press for 10-15 seconds. Remove the garment and let it cool for a few seconds, then peel the film off. For a softer feel, you can peel while hot (hot peel), but cold peel often gives sharper details. After peeling, press again for 5-10 seconds to fully set the print. This final press improves wash durability.
Advantages of DTF Transfers Over Other Methods
DTF has several compelling benefits that make it stand out:
- No weeding or masking: Unlike vinyl, you don't need to cut and weed tiny details. The printer handles complex designs effortlessly.
- Full-color capabilities: DTF can print gradients, photographs, and fine details that screen printing struggles with.
- Fabric versatility: Works on cotton, polyester, blends, nylon, and even leather. No need for specialty inks or pretreatments.
- Cost-effective for short runs: No setup fees or minimum orders. Print one or one hundred with the same ease.
- Durability: Properly applied DTF prints outlast vinyl and even some screen prints, maintaining vibrancy after many washes.
These advantages have made DTF a favorite among small businesses and crafters who want to offer custom apparel without a huge investment.
Common Challenges and How to Overcome Them
While DTF is forgiving, issues can arise. Here are some common problems and solutions:
- Faded or dull colors: This often happens if the white ink layer is too thin or if the powder didn't melt properly. Increase white ink density and ensure the powder is fully cured.
- Poor adhesion: If the print peels off after washing, the likely culprits are insufficient pressure, incorrect temperature, or inadequate powdering. Double-check your heat press settings and powder application.
- Clogged printheads: DTF inks can dry out if not used regularly. Perform daily maintenance prints and keep the printer in a clean, dust-free environment.
- Powder mess: Work over a tray or use a powder applicator to minimize waste. Clean up spills immediately to avoid contamination.
With a bit of practice, you'll develop a feel for the process and be able to troubleshoot quickly.
Applications and Creative Uses
DTF isn't just for t-shirts. You can apply it to hoodies, tote bags, caps, aprons, and even shoes. It's also great for personalizing gifts, team uniforms, and promotional items. Because DTF produces a soft, stretchable print, it's ideal for activewear and children's clothing. Many businesses use DTF to offer on-demand customization at events, allowing customers to design their own apparel. The possibilities are vast, limited only by your imagination.
Frequently Asked Questions
How long do DTF transfers last?
With proper application and care, DTF prints can last as long as the garment itself. They withstand dozens of wash cycles without significant fading or cracking. To maximize longevity, wash inside out in cold water and avoid harsh detergents or bleach. Tumble dry on low or hang dry.
Can I use DTF on dark fabrics?
Absolutely. DTF is particularly effective on dark colors because the white ink base provides opacity. The white layer ensures that colors remain vibrant and true, even on black or navy backgrounds. Just ensure your printer is set to print a sufficient white layer.
What equipment do I need to start with DTF?
You'll need a DTF printer (or a modified inkjet printer), DTF film, thermoplastic powder, a heat press, and a design computer. Some vendors sell starter kits that include everything. A dedicated space with good ventilation is recommended, as the powder can be messy.
Is DTF more expensive than vinyl?
The cost per print depends on the design size and quantity. For small, simple designs, vinyl can be cheaper. But for complex, multi-color designs, DTF is often more economical because it eliminates weeding labor and allows for full-color printing without multiple layers. For short runs, DTF is usually the better value.
Can I print DTF transfers at home?
Yes, many people do. You don't need a commercial shop; a well-ventilated room and a decent printer are enough. However, DTF printers require regular maintenance, and the powder can be messy. If you're just starting, consider outsourcing your transfers to a service like dtf transfers until you're ready to invest in your own equipment.
DTF transfers have democratized custom apparel printing. With a modest setup and a bit of practice, you can produce professional-grade prints that rival screen printing. Whether you're a hobbyist or a business owner, embracing DTF can expand your creative horizons and bottom line. So why not give it a try? Your next custom creation is just a press away.